Rolling Shots – Camera Settings & Tips
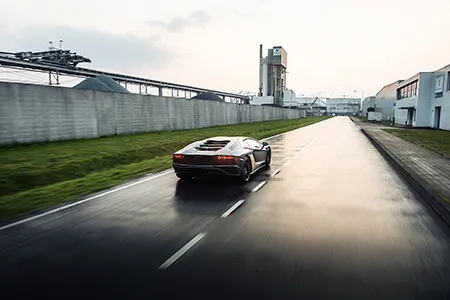
Rolling shots of a car are often the most unique shots you can get during a photo shoot. As a professional car photographer, I know it’s hard to do, and after half a decade it’s still a craft in its own right.
In any case, I will pass on the settings that I often use to make the most beautiful rolling shots, but a few extra tips can’t hurt either.
The settings are only half of everything: yes, it’s important, but you also have to be able to hold the camera still.
You will soon know exactly which settings to use for rolling shots and I will give you all the important factors to pay attention to.
Panning & Rolling shots
To begin with, it is important to know that you can use two types of techniques during a photo shoot. The panning & rolling technique.
When you take panning photos, you stand still at one point and the car passes by. You move along with the car, preferably with a telephoto lens like 70+ mm, and shoot a burst of photos.
The slow shutter allows you to see the background moving while the car is sharp, creating an effect of speed that suits cars.
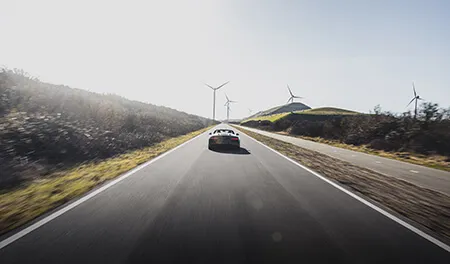
Rolling shots, on the other hand, also show a sense of speed, but then you’re driving along with the car. That is often by sitting in the back of another car.
By using a slower shutter you can see the road moving in the photo, making it look like you’re driving very fast. Both techniques can achieve the same goal but choose carefully which one to use in certain scenarios.
Equipment you need
To begin with, you will of course need the right equipment to make rolling shots. It’s very tricky with your phone, so I recommend using a camera that you can adjust the settings of.
If you’re not sure what camera to use/buy, I’ve got an entire guide on that. View the best cameras for car photography.
Often you will already get a kit lens with a reasonably wide focal length. If you have an APS-C camera, then 16mm is the widest I would choose, with full-frame it’s 24mm.
This has to do with the deformation of the car, if you choose a wider lens, the car will look weird. You also don’t want to be too zoomed in, because then the whole effect of speed is gone.
When you make panning shots you should have the opposite, I prefer a telephoto lens for panning shots so that the speed effect is much more visible.
If you’re not familiar with lenses and don’t know what lens to use/buy for car photography, make sure to read about the best lenses for car photography.
Camera settings for rolling shots
There are certain settings crucial for the success of rolling shots. In my experience, the burst mode is one of those crucial settings.
Make sure to use a camera with a minimal burst speed of 7 frames a second so you can take enough sharp photos for one to be great.
There are many more important settings, as I will discuss in the next few paragraphs!
Shutter speed, ISO, and aperture
As a car photographer, I know exactly which settings you should use to get the best rolling shots.
When you take a photo, three settings are important: shutter speed, ISO, and aperture. The last two are less important than the first because the shutter speed determines the period that the sensor receives light.
When shooting rolling shots you want to use a shutter speed that is at least the speed you are driving. So when you drive 50km/h you use a shutter of 1/50, when you drive 30km/h you use a shutter of 1/30, and so on.
If you photograph during the day, the photo is often overexposed if you use these shutter speeds. That is why it is essential to use as low an ISO as possible, often ISO 100.
If the photo is still too light, you can reduce the aperture. A smaller aperture always increases the number. For example, the lens lets through less light at F8.0 than at F2.8.
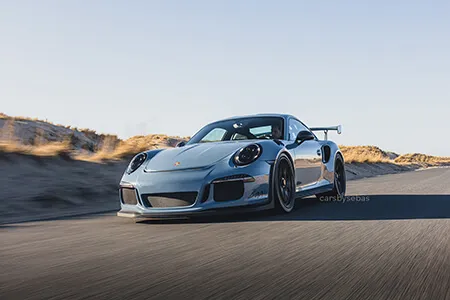
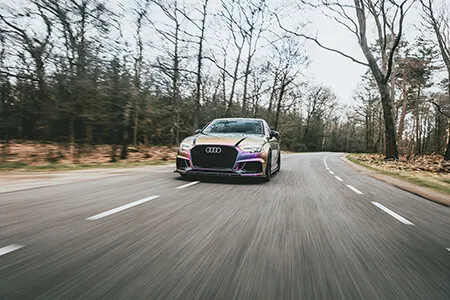
I have expressly put the settings under every photo on this page, so you can see which settings I used when making the rolling shots.
Stabilization on the lens or camera
Nowadays, more and more cameras and lenses have built-in stabilization. The lens elements move (with lens stabilization) or the camera sensor (IBIS).
For years I have worked with a camera and lens that have no stabilization, the photos you see in this article were made with a Canon EOS RP and a 24-70mm lens.
This shows that you don’t necessarily need these functions when making rolling shots. Recently I got a camera that does have stabilization (IBIS) and this ensures that I make much more sharp rolling shots.
Every small movement is then picked up by the sensor or lens and that is extremely useful. You can also set the shutter speed even longer, because the image is much more stable, which ensures even more speed.
Is there such a thing as a too-slow shutter?
A good question that I also had at the beginning. With experience, I have found that the answer to this question is yes. When you use a shutter that is too long, there is too much movement in the photo, which can look distracting.
You have to imagine that everything in the picture is moving, except the car. The longer the shutter is, the more all the trees and bridges move. It is an art to make the car look fast without drawing attention to the background.
That’s why I use the rule of speed, when I’m driving 50km/h I use a shutter of 1/50. I don’t use a shutter slower than 1/20 of a second, I find that anything slower is distracting.
Focus settings
Now you know which settings to use for rolling shots, which is of course very useful. It’s just useless if the photos aren’t focused properly. Focusing during rolling shots is also an art in itself, so I’ll give you all the tips & tricks for this.
There are two ways I use to focus during rolling shots. The first is setting a smaller aperture, which increases the depth of field.
In addition to the photo becoming darker, it also remains sharper. I always set an aperture of F6.3-F8.0 and then focused on the car. Then I only had to focus once and then I was almost certain that the car was in focus.
The disadvantage is that the car can become out of focus again as the distance increases. That’s why I recently got a camera that can recognize cars. If you want to know which cameras have this, check out the best cameras for car photography.
I set the camera to recognize cars. I also put the camera in continuous AF mode, also called Servo AF. To keep the car in focus at all times I use back button focus, which is a technique most professional photographers use.
That way I don’t have to refocus all the time when I want to take a picture. Then it’s a matter of looking at the composition and shooting. Hope there are some sharp pictures in there.
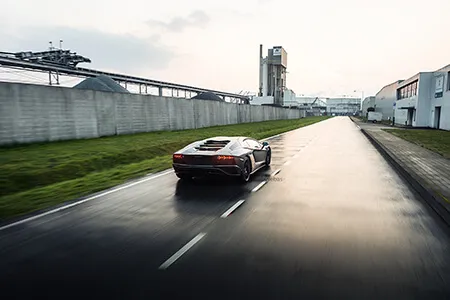
Where can I take rolling shots?
It is always a challenge to find car photography locations where you can make rolling shots in a quiet way. I always look for places where the road is smooth and there is little traffic.
We all know that rolling shots where you hang out of the car can’t be done on a busy highway. During the photo shoot, I often see roads and places where the rolling shots can be made.
I then save this in my Google Maps to go back to later. If you do this often you will have a folder full of locations at some point, after years of photographing I have already saved hundreds of locations.
I always like places with buildings or trees in the background, because they increase the feeling of speed without actually driving faster.
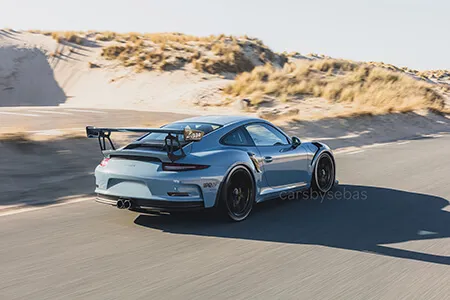
The location also determines the reflection of the car, make sure to use a polarizing filter if the reflection isn’t how you would like it to be.
Safety (important!)
We all know that making rolling shots is not without danger. You’re in the back of a car with an expensive camera and lens that can just fall off.
To avoid causing damage to yourself, the camera, or the cars, it is important to take precautions. For example, with every camera, you get a strap that you can attach to the camera that prevents the camera from falling.
To prevent damage to yourself, it is important to wear a harness that is attached to mounting points in the car. Climbing harnesses are often good enough.
Finally, I advise you not to drive faster than 30 km/h. This seems very slow, but when you are in the back of a car with an open trunk it is suddenly a lot faster. With the tricks you’ve learned now you can create the impression of speed, even if you don’t drive that fast.
Conclusion
That’s enough reading for today, you know exactly which settings to use to get the most beautiful rolling shots.
Use a shutter that matches your speed to create the impression of speed. A shutter that is too long is also not useful, as the background can be interpreted as distracting.
The focus settings of the camera are also important, a slow shutter speed is of no use if the car is not in focus.
The composition can also have a major impact on the outcome of the photo. When you’re low to the ground you seem to go faster than you go and the opposite is true when you’re too high.
Remember to put your safety first, you don’t want an accident where you hurt yourself, drop a camera, or damage a car. Use a harness to secure yourself.
Promise me one thing after reading this article, feel free to read it again, and don’t read too much on the internet. You learn the most from experience so go out and enjoy the learning moments.
Who is Sebastiaan?
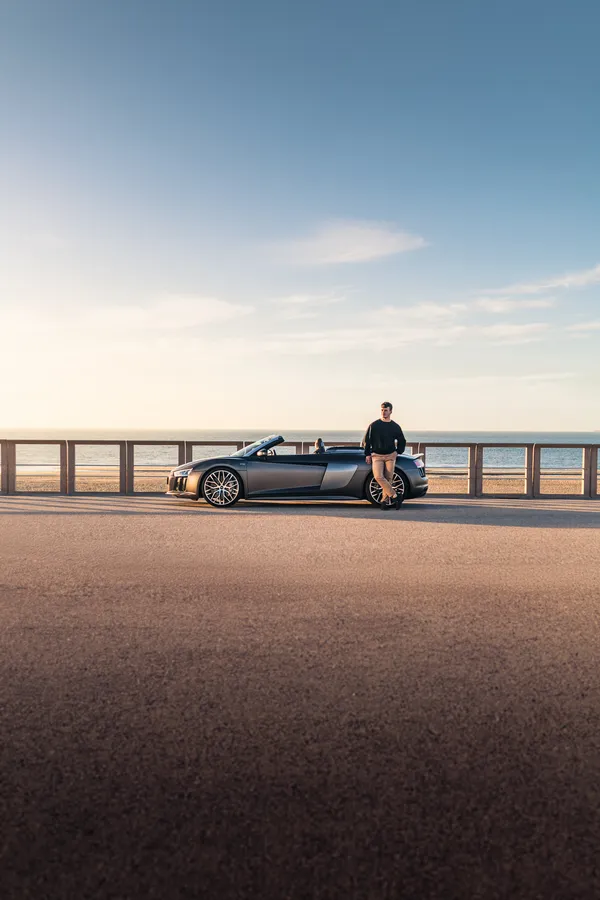
Hi! I am Sebastiaan, the writer of this blog. With years of experience as a professional photographer, I want to share my expertise with you. From recommending cameras and lenses to giving tips that make a world of difference, that is what I love to do most.